Search This Blog

Monday, July 18, 2011

Getting a 21 1/2" stove through a 20" door

Heavy Sigh.  So the stove/oven is 21 1/2" wide and the door opening is 20" wide.  Ugh!  Dave had already replaced one of the door jams that had water damage.  But there was no other way - the jam had to come back out so we could fit the stove through the door.
20" wide door opening

21 1/2" wide stove

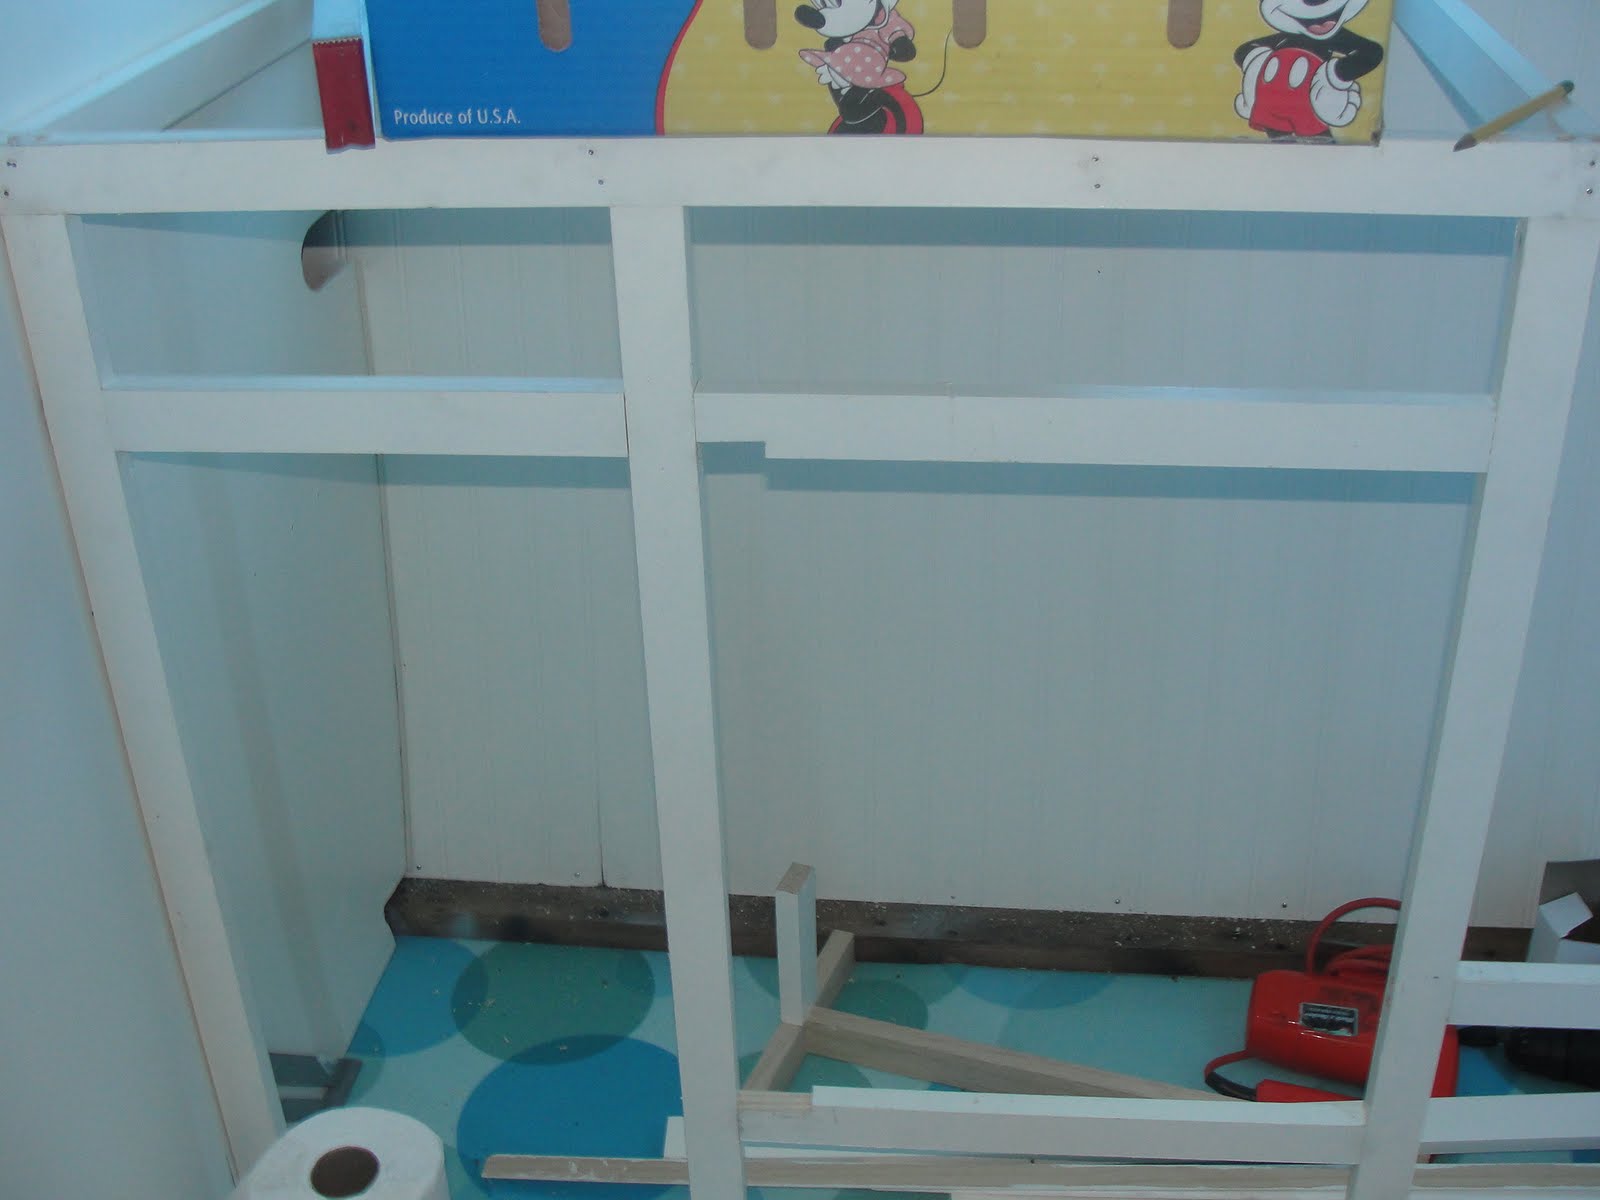
Dave has built the framing for the kitchen cabinets


We painted the back of the newly built door with blackboard paint.

Sunday, July 17, 2011

Door, Interior Panels and more polishing

I was away visiting my sister and had a bunch of fun while my poor husband was slaving away on the Shasta.  He took apart the door so we could have a new metal piece fabricated at the bottom where there was a tear in the metal.  We suspected that water was getting in but he wasn't prepared for what he uncovered!  There was nothing left of the bottom of the door but a pulpy mess of wood rot.  He completely re-built the door and it looks great!  I am painting the back of the door with chalkboard paint. I thought it would be fun for Bella to be able to draw on it.  Second coat of chalkboard paint goes on tomorrow and I'll post pics.

Here Dave has installed interior panels and look!  cabinetry even!

The cabinet over the sink and range.
 I replaced the yellow formica with frosted acrylic panels.
There will be LED lights inside the cabinet which will illuminate the frosted panels.
Both gaucho benches are in

The gaucho benches have beadboard sliding panels
(which replaced the yellow formica).
The closet.
Beadboard panels are installed in kitchen back wall.


All of the wood will need another coat of paint.


Joshua and Bella worked on polishing the screen door.

Friday, July 1, 2011

She's legal

"

This was the part I dreaded.  The registry of motor vehicles scares me.  I went to our insurance agent first, who told me that I wouldn't be able to register the trailer (ever) because I couldn't produce a previous registration. "But the previous owner bought it from a guy in NH and it wasn't registered". I admit, that sounded a bit sketchy. "Well", she said, you could probably get a signed affidavit from the original owner".  Signed what?  From who?  The original owner may well be dead for all I know.

However, I had a secret weapon.  The previous owner had prepared me well.  He told me to go to the registry with a form that is signed by a police officer and verifies the VIN (found on the tongue of the trailer).  If the trailer is under $3000 pounds, I shouldn't need a title to register it.  I was ready.

I went to the registry, forms in hand and you know what?  The RMV worker didn't even care.  She registered my trailer with not even a raised eyebrow.  The only thing that caused her to pause was the color.  There is a checkbox for the color and pink wasn't listed so I left it blank.

"What color is the trailer?" she asked.

"Pink".

 "We don't have pink, we have red.  What color is your trailer?"

"Red".

"Good - here are your plates"

Ever feel like you're in a Monty Python episode?

Bubble Fun Flooring installed!

Ok, we're getting to the fun parts.  The "Bubble Fun" floor by Tarkett (in turquoise) was installed today.  I think it looks great!

Also, we received the stainless steel marine range.  The Compact has a sloping shape in the front and back.  The marine range is angled on the back in the bottom to allow for a ship's hull.  Works great for the Compact too!


The range is by Force 10, my model is a little different than the one shown left.  The control panel and handle are both stainless.

Beauty is (aluminum) skin deep

David and Christian have been busy installing the aluminum skins that Falmouth sheet metal fabricated for us.  It is tricky because we were not replacing the sides and the lines in the metal had to align from the back and front to the sides.


The new electrical has been run and the insulation is almost done

Sunday, June 19, 2011

Insulation, electrical and paint

We've been busy, busy, busy!  David installed new electrical wires and, with the help of the kids, insulation on the two side walls.  The aluminum on the roof, front and back is at the sheet metal shop where new panels are being fabricated.

Christian sprayed the trailer frame with rubberized undercoating

Installing insulation and taping it in.

 Christian, Joshua and Bella working together
Even Hazel gets into the act.  Inspecting under the trailer - quality control!

We put down the subfloor in preparation for the finished floor which will be coming next week.

And I worked on painting the cupboards.  Yes, we decided to go with paint.  I love the look of the stained birch, but this little trailer will spend most of her life parked near the beach so I decided to go with a lighter beach cottage kinda look.  After all, we live on Cape Cod, where if you stand still too long, you'll be painted white.

I also polished the louvered window.  That took some time!  I have 2 more windows to go and the z stripes, the top of the baggage door, the screen door and something else which my mind has blocked out at the moment.  

Next week we'll be installing the aluminum skins on the roof, front and back, continue polishing aluminum, and continue painting.  Next weekend Dave will hopefully be putting in the birch panels.  

Taking it one day at a time - too overwhelming!


Tuesday, June 7, 2011